
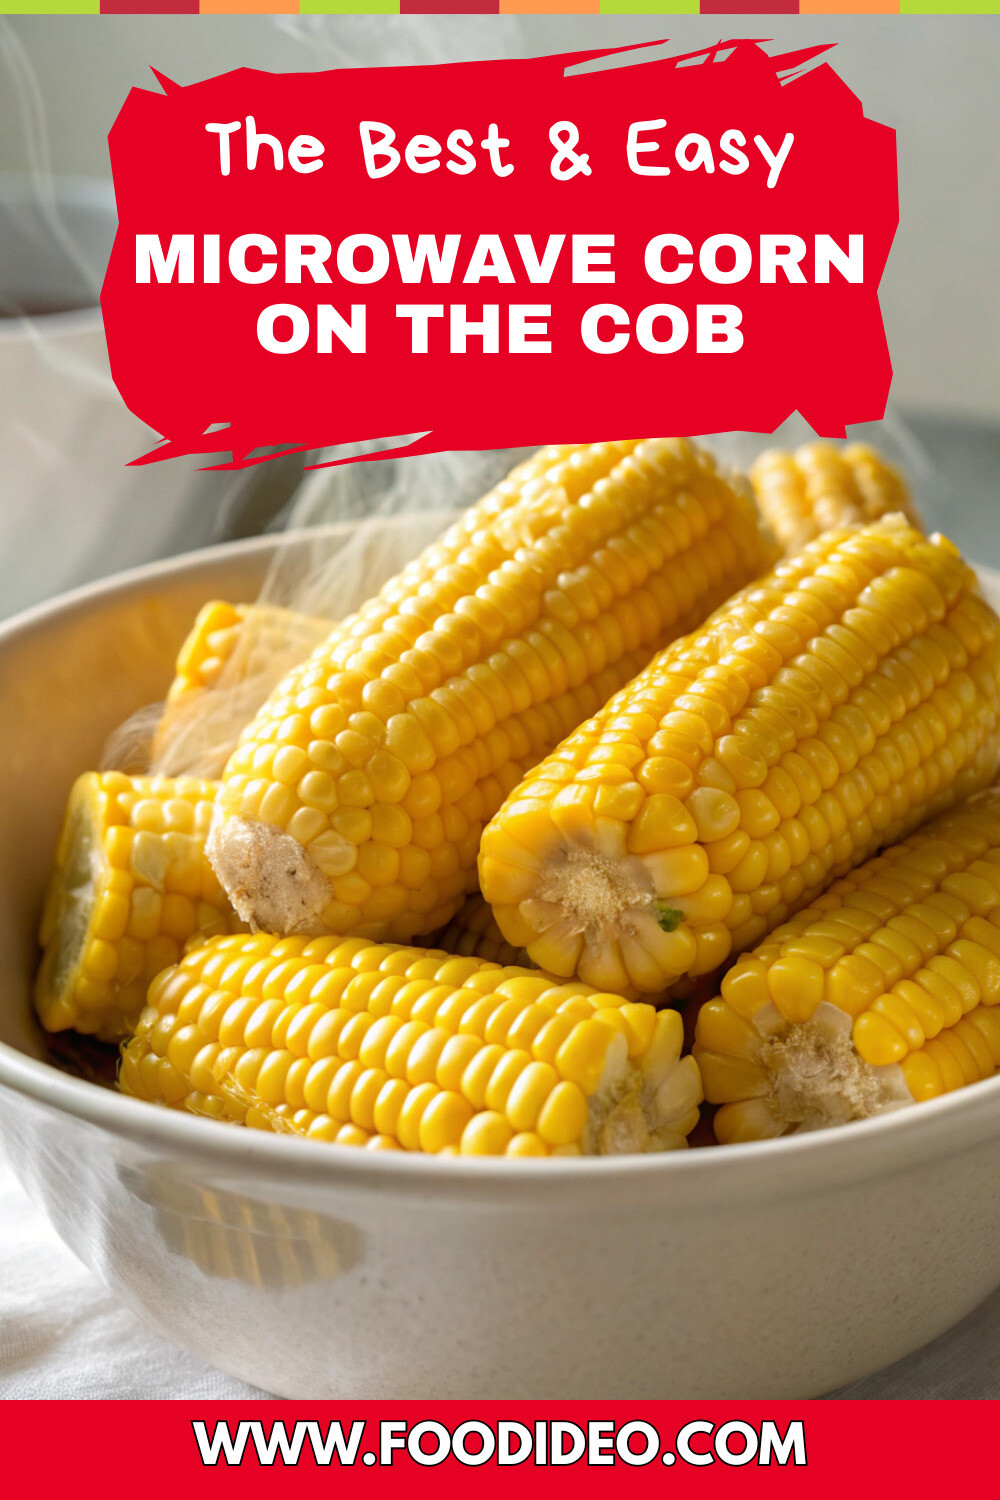
Introduction
Did you know that Americans consume over 42 pounds of corn per person annually, yet spend an average of 25 minutes preparing it using traditional boiling methods? What if you could reduce that time by 80% without losing any of the flavor or nutritional value?
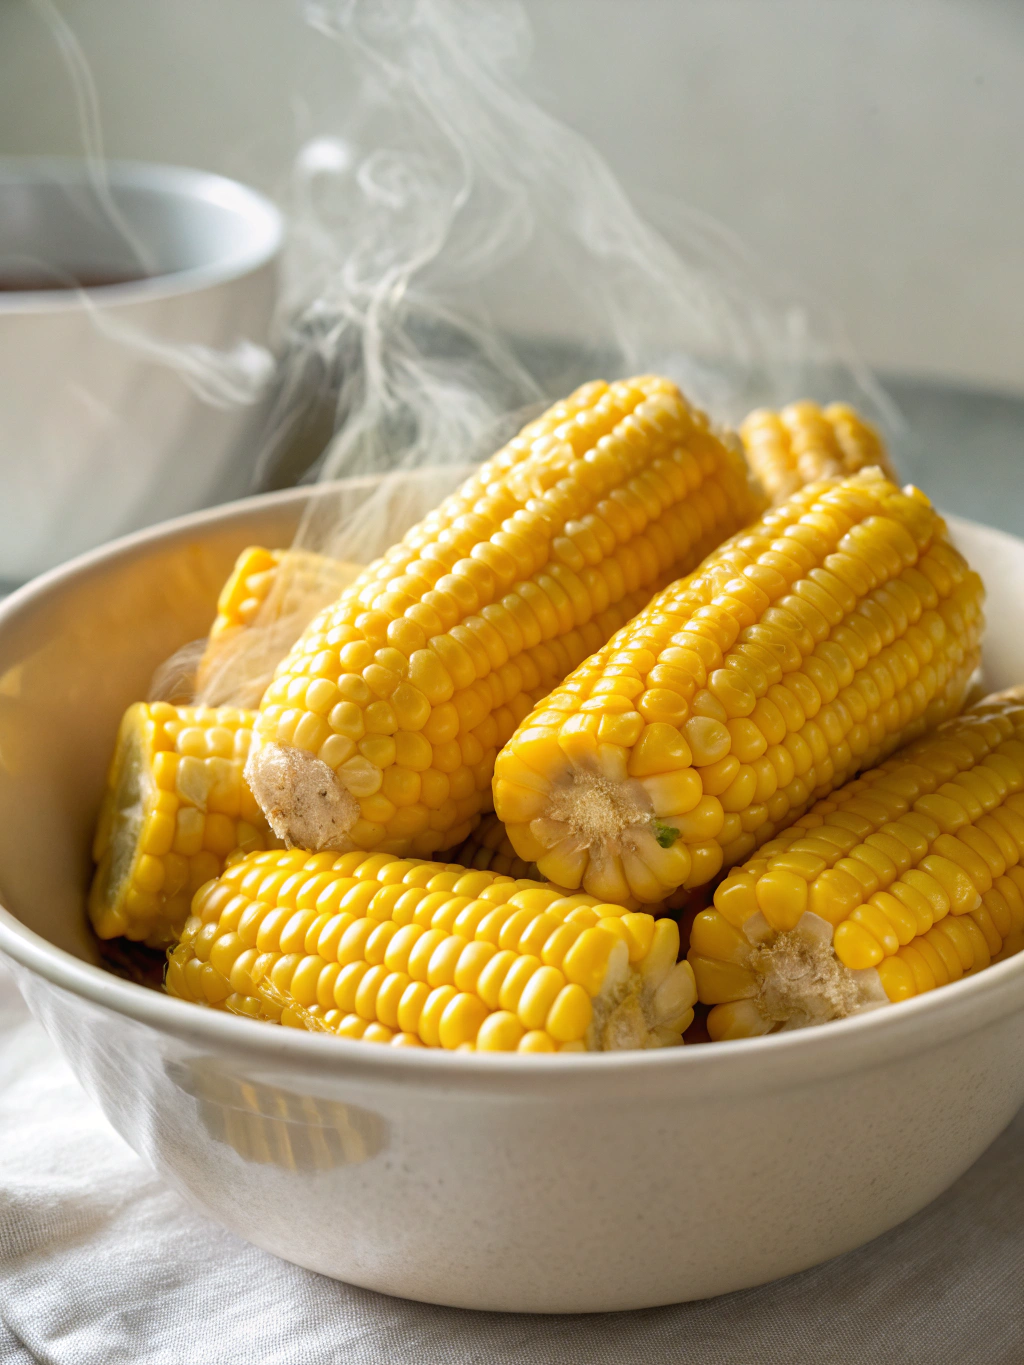
Microwave corn on the cob is revolutionizing how busy home cooks enjoy this summer staple. This no-shuck method preserves the corn’s natural sweetness while cutting down preparation time dramatically. Whether you’re preparing a quick side dish for dinner or a healthy snack, this microwave shortcut delivers perfectly cooked corn in minutes, not the half-hour traditionally required.
Ingredients List for Microwave Corn on the Cob
- 2-4 ears of fresh corn on the cob (husks intact)
- 2-4 tablespoons of butter (optional; can substitute with olive oil or plant-based butter)
- Salt and pepper to taste
- Optional flavor enhancers: garlic powder, paprika, chili powder, or fresh herbs like cilantro or parsley
- Paper towels or a microwave-safe plate
- 1/4 cup of water (if using the plate method)
The beauty of this recipe lies in its simplicity. The husks actually help steam the corn to perfection, locking in moisture and flavor that’s often lost with traditional boiling methods.
Timing for Microwave Corn on the Cob
- Preparation time: 2 minutes (70% less than traditional methods)
- Cooking time: 3-5 minutes for 1-2 ears; add 2 minutes for each additional ear
- Total time: 5-7 minutes (compared to 25-30 minutes for traditional boiling)
This method saves you approximately 20 minutes compared to boiling corn, making it 80% more time-efficient without compromising on quality or taste.
Step-by-Step Instructions
Step 1: Prepare the Corn
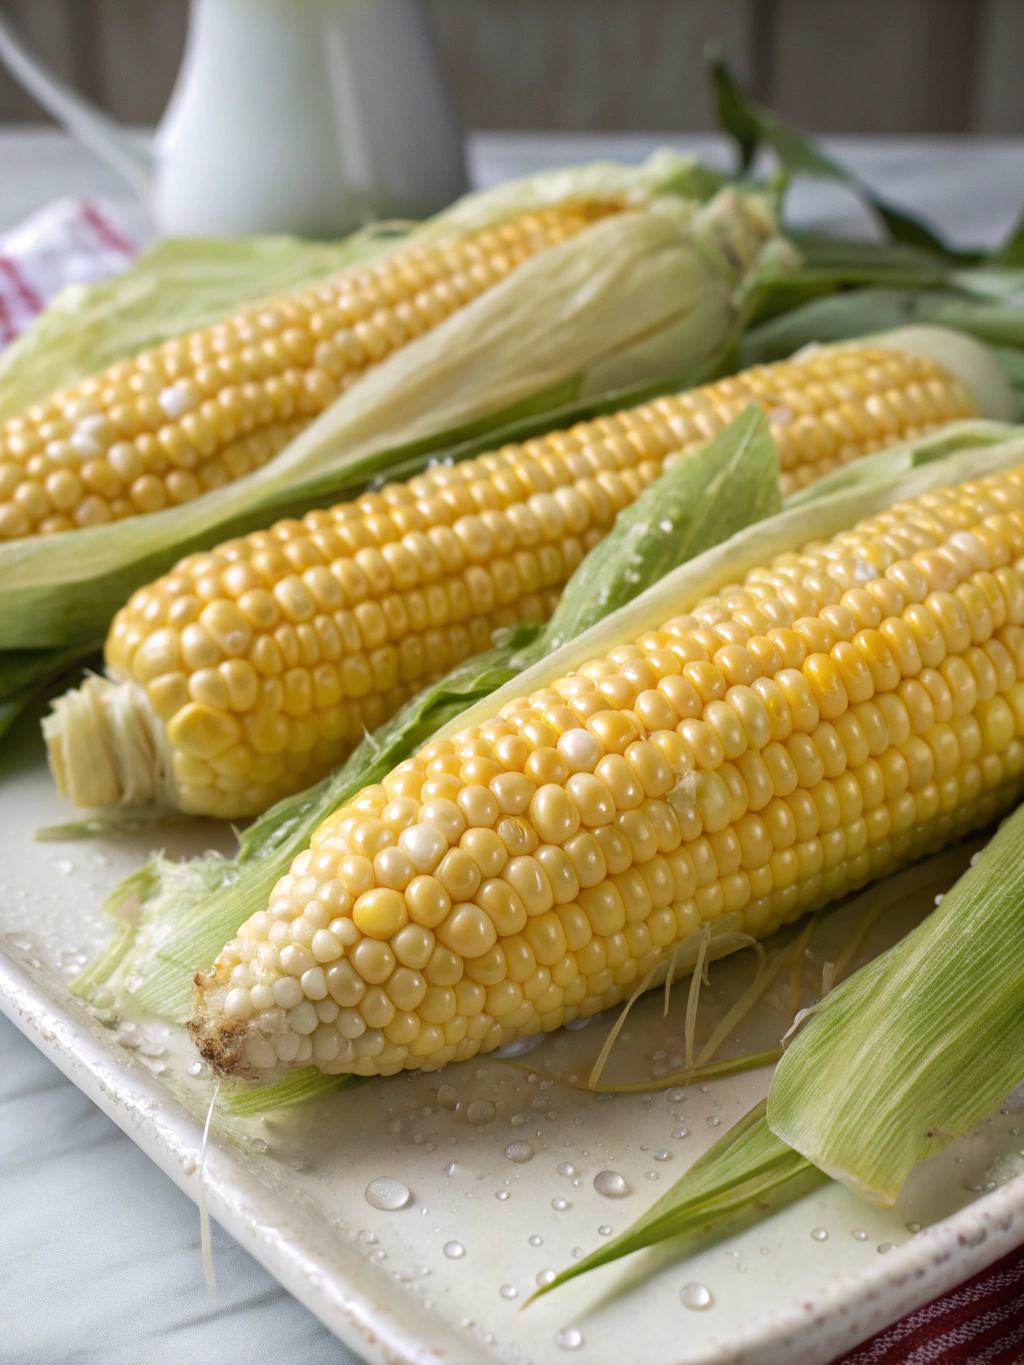
Leave the husks intact! Unlike traditional methods, the no shuck corn microwave technique uses the husks as natural cooking vessels. Simply trim any excess silk that might be sticking out from the top, and remove any damaged outer leaves.
Step 2: Dampen the Corn
Lightly rinse the corn under cool water, allowing the husks to absorb some moisture. This creates steam inside the husk during cooking, which helps the corn cook evenly while retaining its natural sweetness.
Step 3: Position in Microwave
Place the damp ears of corn directly on the microwave turntable, or on a microwave-safe plate with 1/4 cup of water if you prefer extra moisture. Arrange them in a spoke pattern for even cooking if microwaving multiple ears.
Step 4: Microwave the Corn
Microwave on high power for 3-5 minutes for 1-2 ears. For each additional ear, add approximately 2 minutes to the cooking time. A 1200-watt microwave will require less time than an 800-watt model, so adjust accordingly.
Step 5: Let It Rest
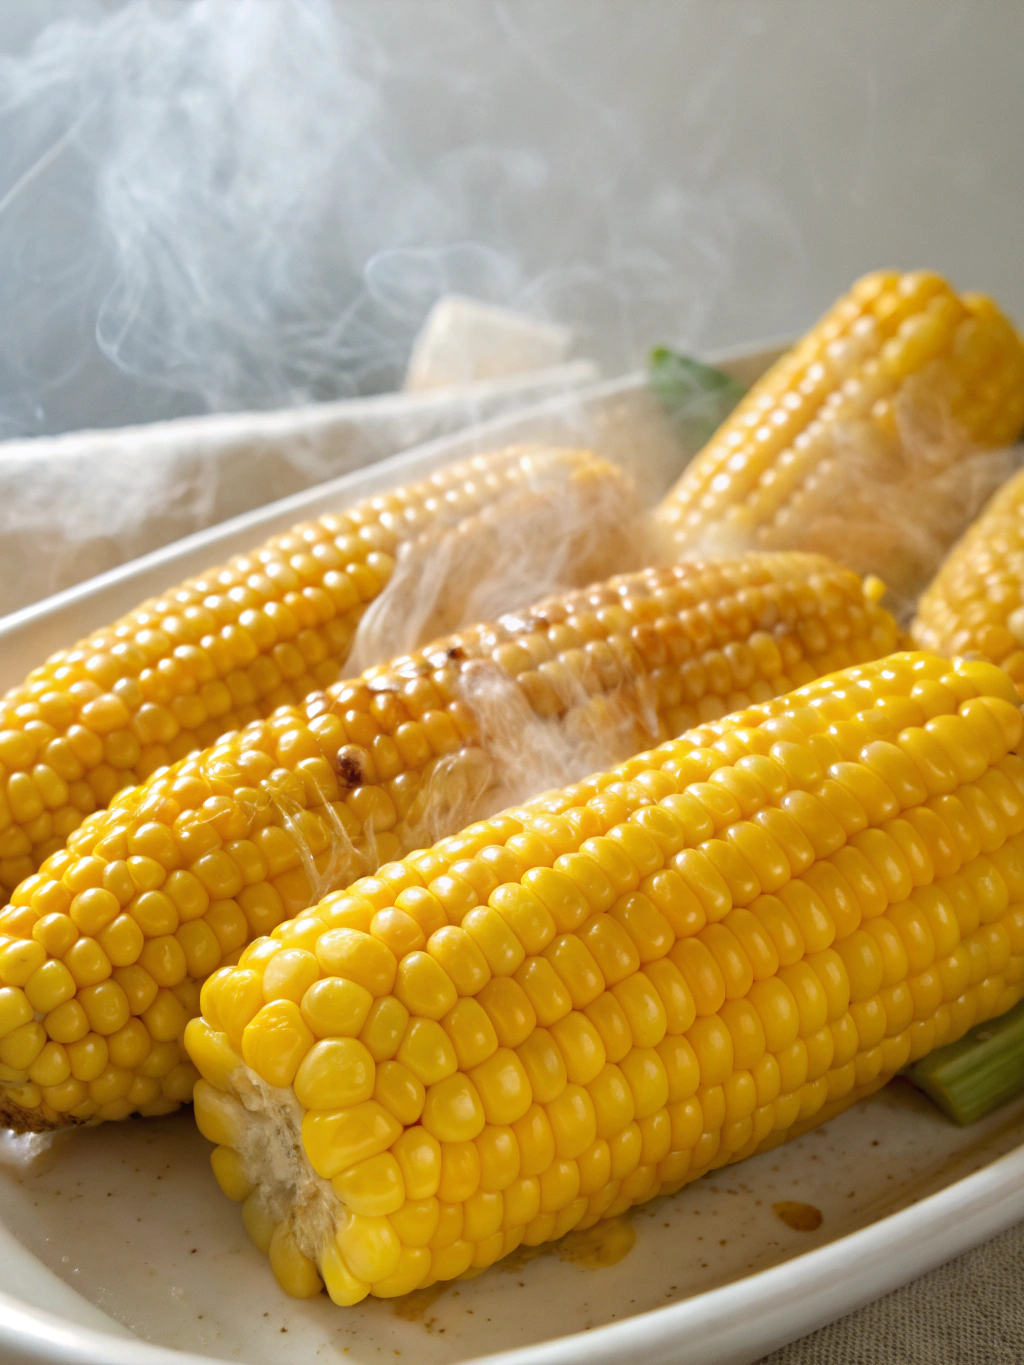
Allow the corn to rest for 2 minutes before handling—the ears will be extremely hot and continue cooking slightly during this time. This resting period ensures the kernels achieve perfect tenderness.
Step 6: Remove Husks and Silk
Using oven mitts or a kitchen towel, grip the corn at the stem end and shake while pulling downward. The corn should slide out easily, leaving most of the silk behind with the husk—a significant advantage over traditional preparation methods.
Nutritional Information for Microwave Corn on the Cob
Per medium ear (approximately 90g edible portion):
- Calories: 90
- Carbohydrates: 21g
- Protein: 3g
- Fat: 1g
- Fiber: 2.4g (8% of daily recommended intake)
- Vitamin C: 6.1mg (7% of daily recommended intake)
- Folate: 38.2mcg (10% of daily recommended intake)
- Potassium: 270mg (6% of daily recommended intake)
Corn contains lutein and zeaxanthin, antioxidants beneficial for eye health, and provides 10% more antioxidants when cooked compared to raw consumption.
Healthier Alternatives for Microwave Corn on the Cob
- For a dairy-free option, brush with olive oil instead of butter
- Try coconut oil with a sprinkle of nutritional yeast for a vegan “cheesy” flavor
- Use herbs like dill, basil, or thyme instead of salt for flavor without sodium
- For reduced carb intake, enjoy half an ear with a side of roasted vegetables
- Brush with Greek yogurt mixed with lemon zest for a probiotic-rich, tangy alternative to butter
Serving Suggestions for Microwave Corn on the Cob
- Mexican-style: Brush with lime juice, sprinkle with chili powder and cotija cheese
- Mediterranean: Top with olive oil, crumbled feta, and fresh oregano
- Asian-inspired: Drizzle with sesame oil and sprinkle with furikake or toasted sesame seeds
- BBQ companion: Serve alongside grilled chicken or burgers for a quick summer meal
- Salad topper: Cut kernels off the cob and add to salads for a sweet crunch
Common Mistakes to Avoid for Microwave Corn on the Cob
- Removing husks before cooking (they’re essential for the steaming process)
- Overcooking (which results in tough, chewy kernels instead of crisp-tender ones)
- Skipping the rest time (this causes steam burns and interrupts the final cooking process)
- Using old corn (for best results, use corn purchased within 1-2 days)
- Microwaving on a plastic plate (use microwave-safe materials only)
Storing Tips for Microwave Corn on the Cob
- Cooked corn: Refrigerate for up to 3-4 days in an airtight container
- Leftover corn kernels: Store in the refrigerator for up to 3 days or freeze for up to 6 months
- Fresh uncooked corn: Keep husks on and refrigerate for up to 2 days
- For meal prep: Microwave several ears at once, then refrigerate in husks until needed
- Freezing tip: Blanch corn for 1 minute before freezing to maintain texture and flavor
Conclusion for Microwave Corn on the Cob
Mastering the no shuck corn microwave method transforms how you enjoy this versatile vegetable, saving precious time without sacrificing flavor or nutrition. This technique delivers perfectly cooked corn in just minutes, preserves more nutrients than boiling, and creates less mess in your kitchen.
Try this method tonight and experience the game-changing difference for yourself. Your weeknight dinner routine will never be the same! Share your favorite corn seasonings in the comments below, or tag us in your corn creations on social media.
FAQs for Microwave Corn on the Cob
Can I microwave frozen corn on the cob?
Yes, but add 2-3 minutes to the cooking time and use a microwave-safe dish with 2 tablespoons of water to create steam.
How can I tell if my corn is perfectly cooked?
The kernels should be bright yellow, plump, and yield slightly when pressed with a fork—firm but not hard.
Is microwaving corn healthier than boiling?
Yes, microwaving retains more nutrients since water-soluble vitamins don’t leach out into cooking water.
Can I microwave corn without the husks?
Yes, but wrap each ear in damp paper towels to mimic the steaming effect of husks and reduce cooking time by 1 minute.
Why is my microwaved corn chewy?
You’ve likely overcooked it or used corn that wasn’t fresh. Reduce cooking time and ensure you’re using recently harvested corn.
Microwave Corn on the Cob: The Ultimate Time-Saving Kitchen Hack
Equipment
- Microwave
- Microwave-safe plate
- Paper towels
Ingredients
Main Ingredients
- 2-4 ears fresh corn on the cob husks intact
- 2-4 tablespoons butter optional, can substitute with olive oil or plant-based butter
- salt and pepper to taste
Optional Seasonings
- garlic powder optional
- paprika optional
- chili powder optional
- fresh herbs like cilantro or parsley, optional
For Cooking
- 1/4 cup water if using the plate method
Instructions
- Leave the husks intact. Simply trim any excess silk that might be sticking out from the top, and remove any damaged outer leaves.
- Lightly rinse the corn under cool water, allowing the husks to absorb some moisture. This creates steam inside the husk during cooking.
- Place the damp ears of corn directly on the microwave turntable, or on a microwave-safe plate with 1/4 cup of water for extra moisture. Arrange in a spoke pattern if microwaving multiple ears.
- Microwave on high power for 3-5 minutes for 1-2 ears. For each additional ear, add approximately 2 minutes to the cooking time.
- Allow the corn to rest for 2 minutes before handling—the ears will be extremely hot and continue cooking slightly during this time.
- Using oven mitts or a kitchen towel, grip the corn at the stem end and shake while pulling downward. The corn should slide out easily, leaving most of the silk behind with the husk.
- Serve with butter or your favorite toppings and enjoy immediately.